How to add city-based shipping methods in WooCommerce
In this guide, you will learn how to set up a city-based shipping method for your WooCommerce store. By the end, you’ll know exactly how to add different shipping rates or methods depending on the customer’s city.
In The Article
Overview
City-based shipping lets you set special shipping rules for specific cities. Instead of showing the same shipping to everyone, you can define different delivery charges or options based on where your customer lives.
Why use city-based shipping?
- Save costs by charging extra for faraway cities.
- Offer perks like free shipping in your main city.
- Avoid confusion by only showing valid methods for each city.
- Give customers more accurate and transparent shipping options.
Configuration steps
Let’s go through the plugin settings step by step:
-
Open Plugin Settings
- Log in to your WordPress dashboard.
-
Go to Dotstore → Flat Rate Shipping → Add New
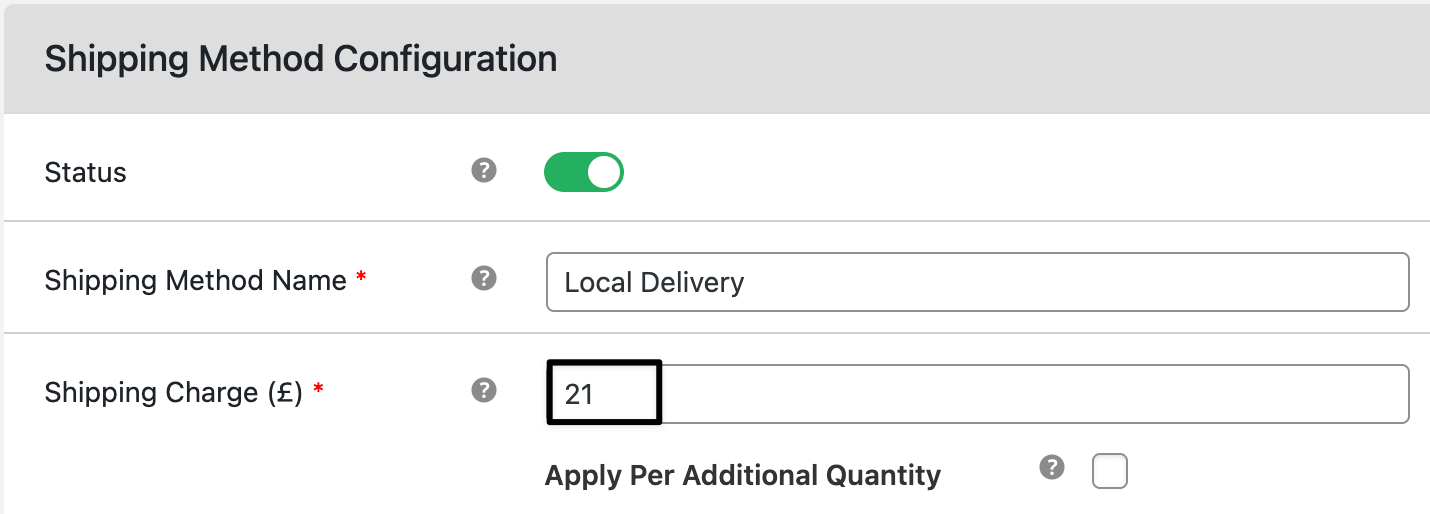
Add a New Shipping Method
- Click the Add New button
- Give your shipping a name (example: Local Delivery).
-
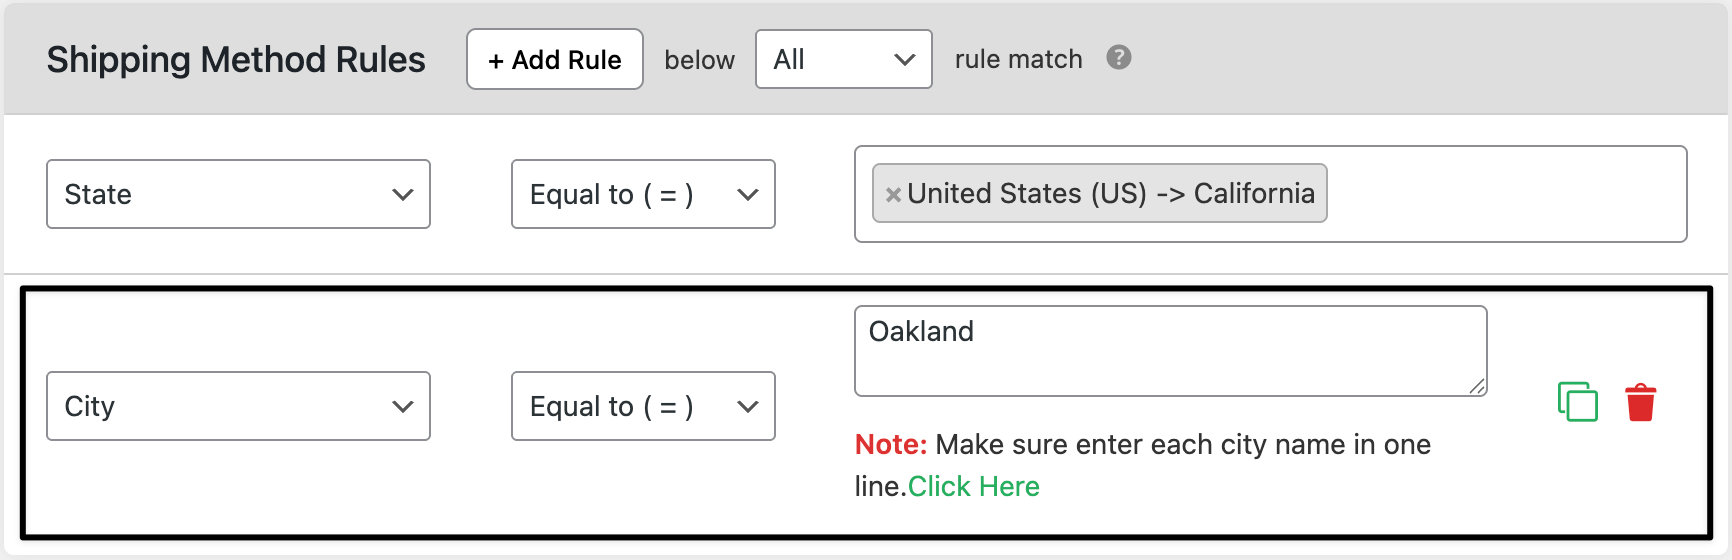
Choose the country/region (example: United States → California
Set the City
- In the City area, add the list of cities
-
Type the city name (for example: Oakland).
-
Save the Shipping Method Rules


Ready to See All Features in Actions?
Access our complete advanced features instance, allowing you to configure every feature with real checkout scenarios.
Examples
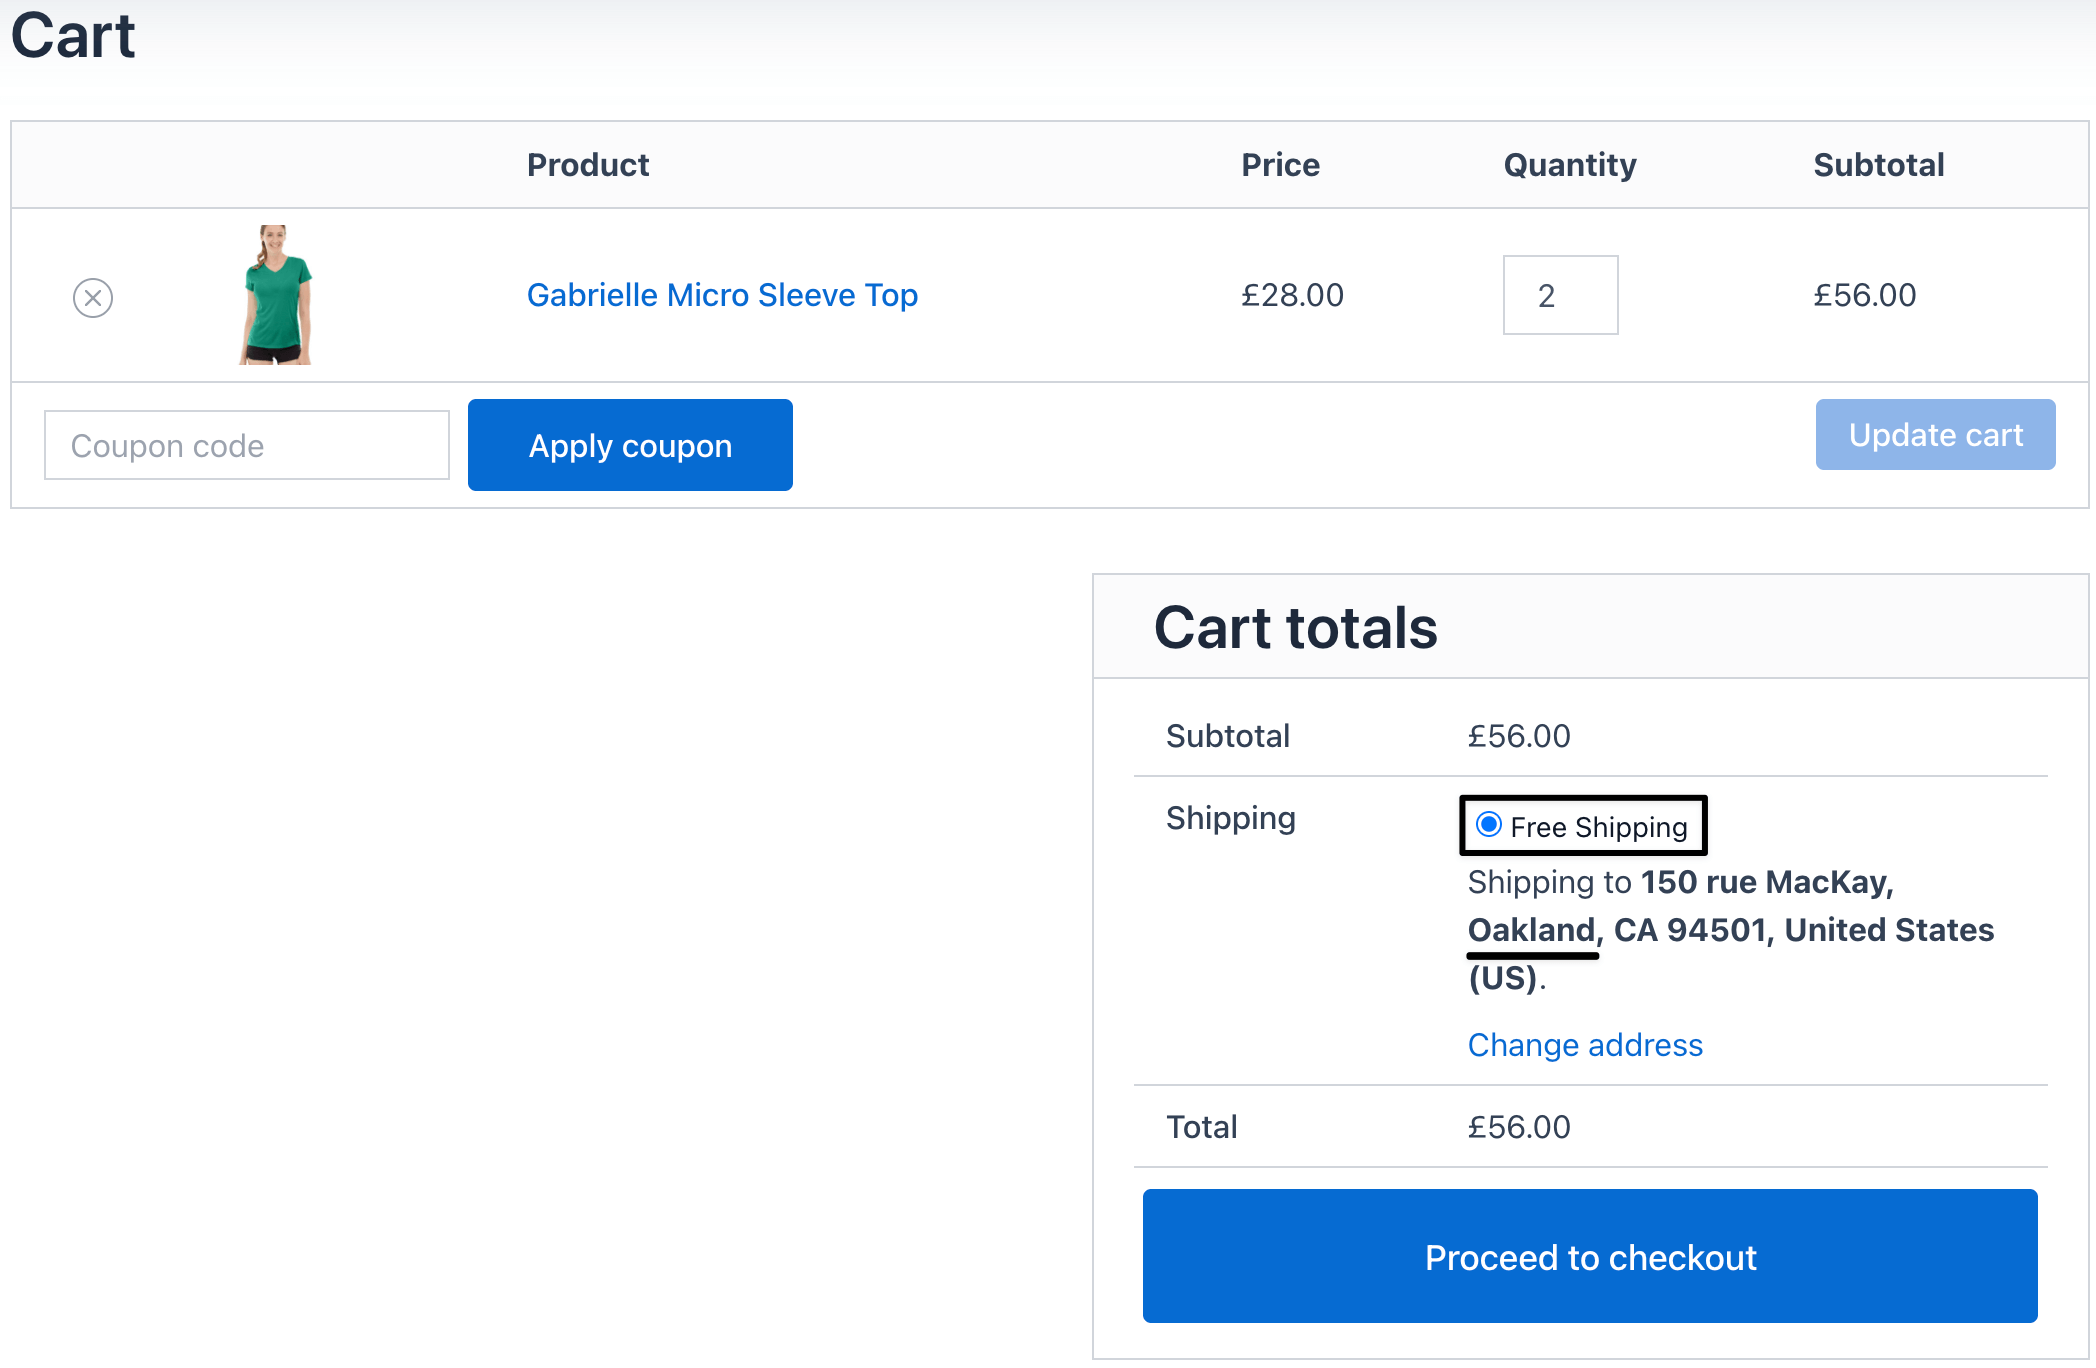
Example 1: Free Shipping in Oakland
- Product: Gabrielle Micro Sleeve Top
- Price: $28
- Rule: If the city = California → Shipping = Free
-
Customer pays: $56

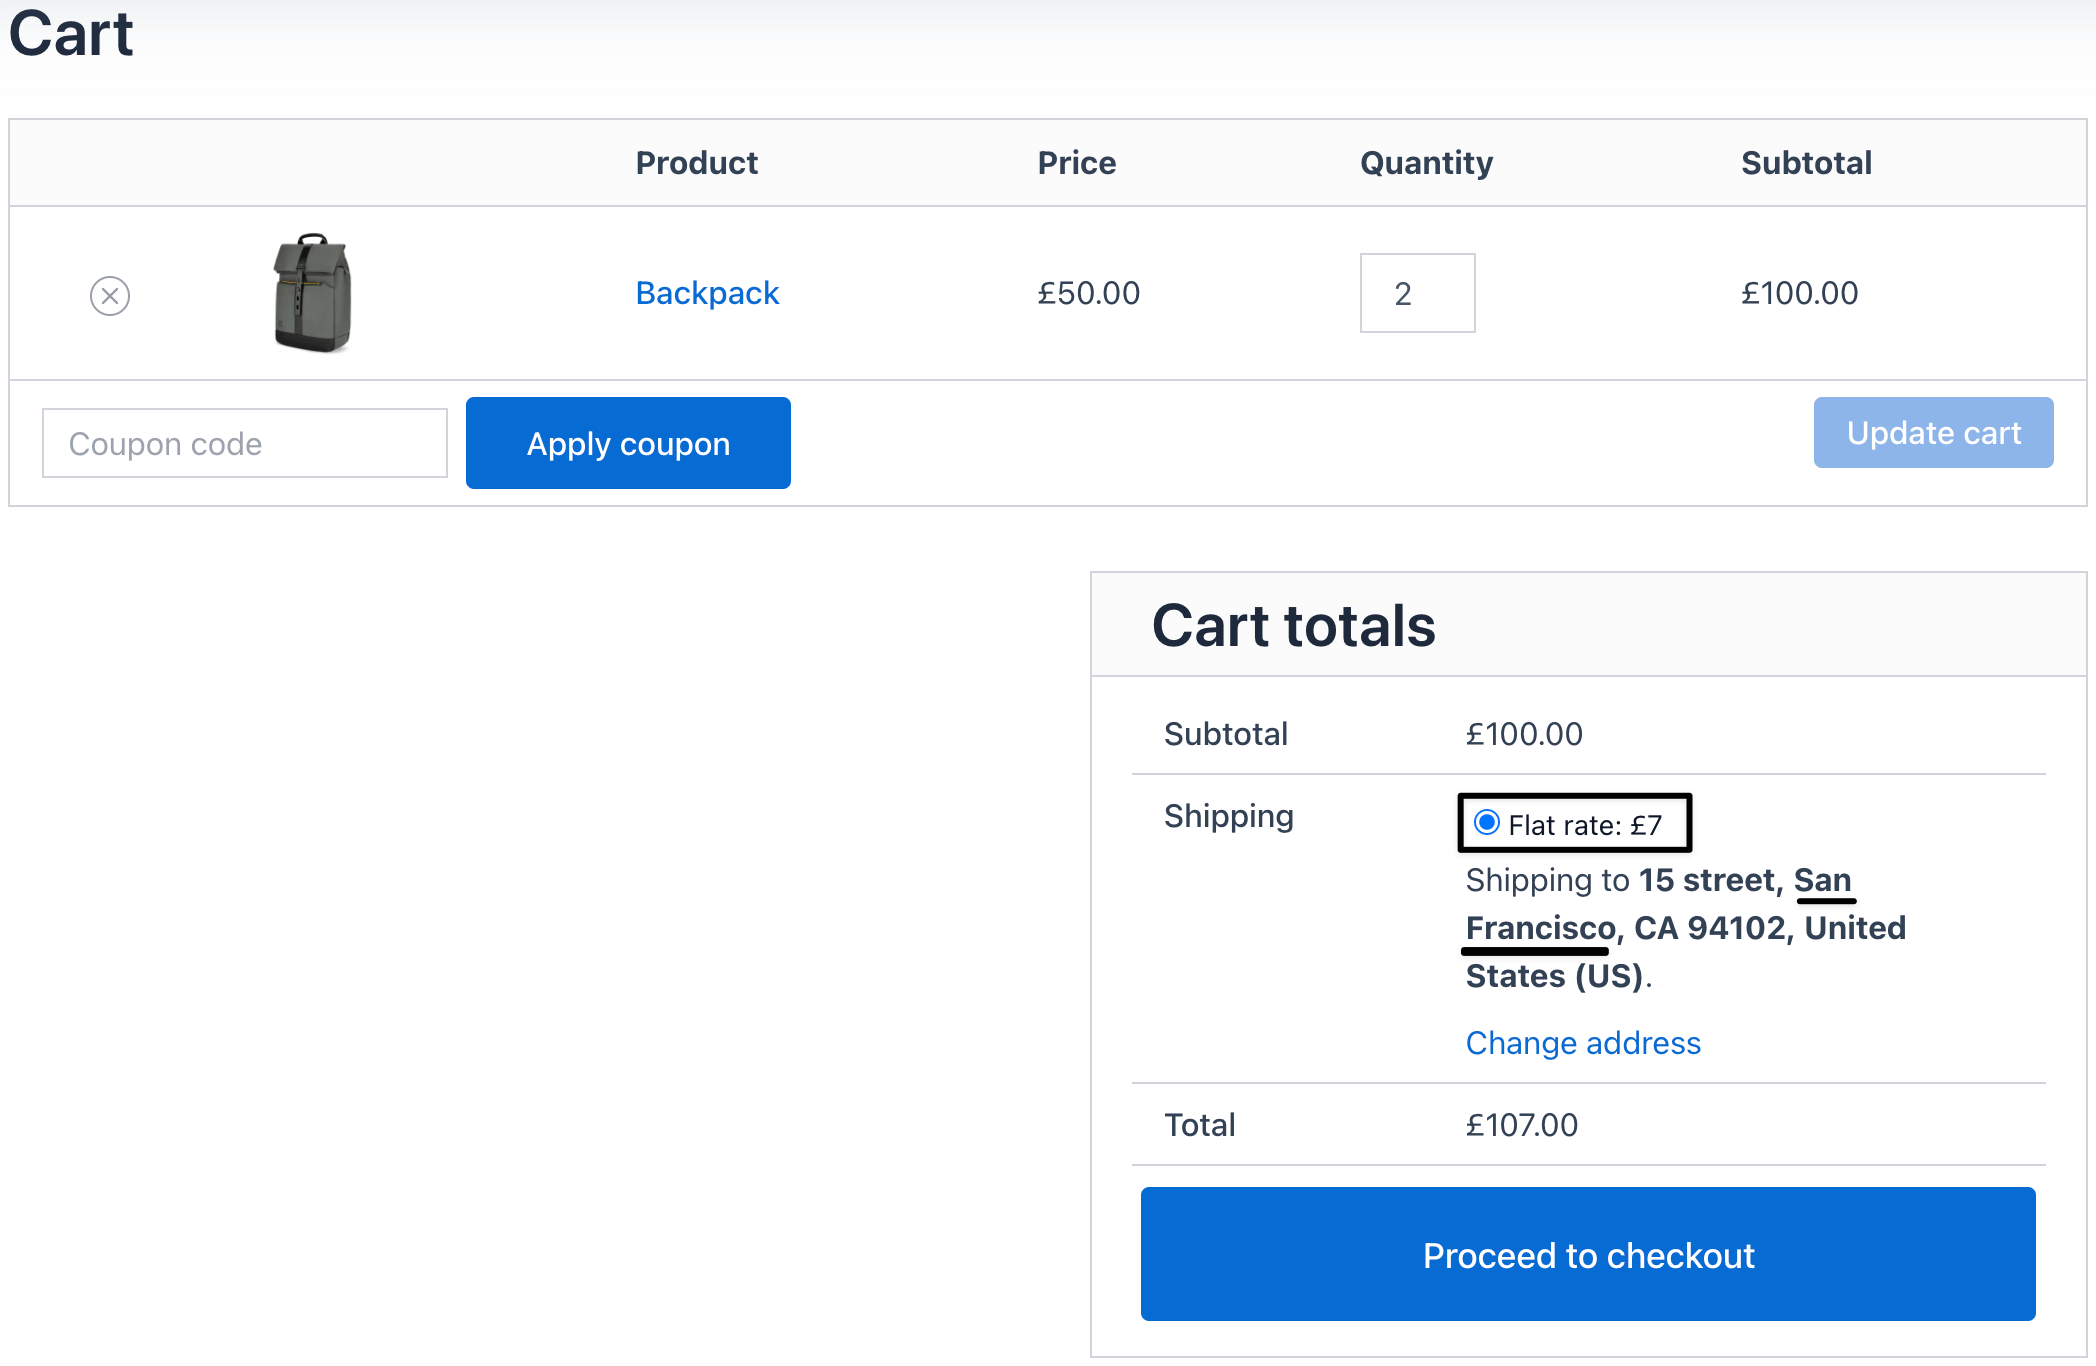
Example 2: Flat Rate for San Francisco
- Product: Backpack
- Price: $50
- Rule: If the city = San Francisco → Shipping = $7 flat
-
Customer pays: $107