
How to add Code to Track the Login Step of Guest Users using this plugin?
Two Core Tracking settings round out your GA4 setup beyond the standard purchase funnel: Add Code to Track Login Step of Guest Users, which fills a gap in checkout tracking for guest customers, and Demographics & Interests Reports, which controls whether ad personalization signals are allowed for Demographics, Interests, and remarketing data.
In The Article
Part 1: Guest Checkout Step Tracking
Add Code to Track Login Step of Guest Users reports an extra checkout step to GA4 specifically for customers checking out as guests, capturing the moment they click Place Order and reach the final step before payment.
If you allow guest checkout, this fills in a gap in your funnel data: guest checkouts otherwise don't have this final-step visibility that logged-in checkouts already get through other events.
Benefits
Enabling this setting can help:
- See how many guest checkouts actually reach the final step before payment
- Compare guest checkout completion against logged-in checkout in your funnel
- Fill a gap in checkout-step visibility that otherwise only applies to specific parts of the flow
How It Works
When a visitor who isn't logged in clicks Place Order on the checkout page, and there are no visible validation errors on the page, the plugin sends a checkout_progress event to GA4 marked as checkout step 3, along with the items in the cart. This only fires for guest checkouts, logged-in customers don't trigger this specific event.
This setting doesn't track whether a guest chooses to log in instead of checking out as a guest, it specifically tracks guests reaching the final step of checkout before payment.
How to Enable This Setting
- Go to Ecommerce Tracking → Tracking Configuration and open the Core Tracking section under Tracking Configuration.
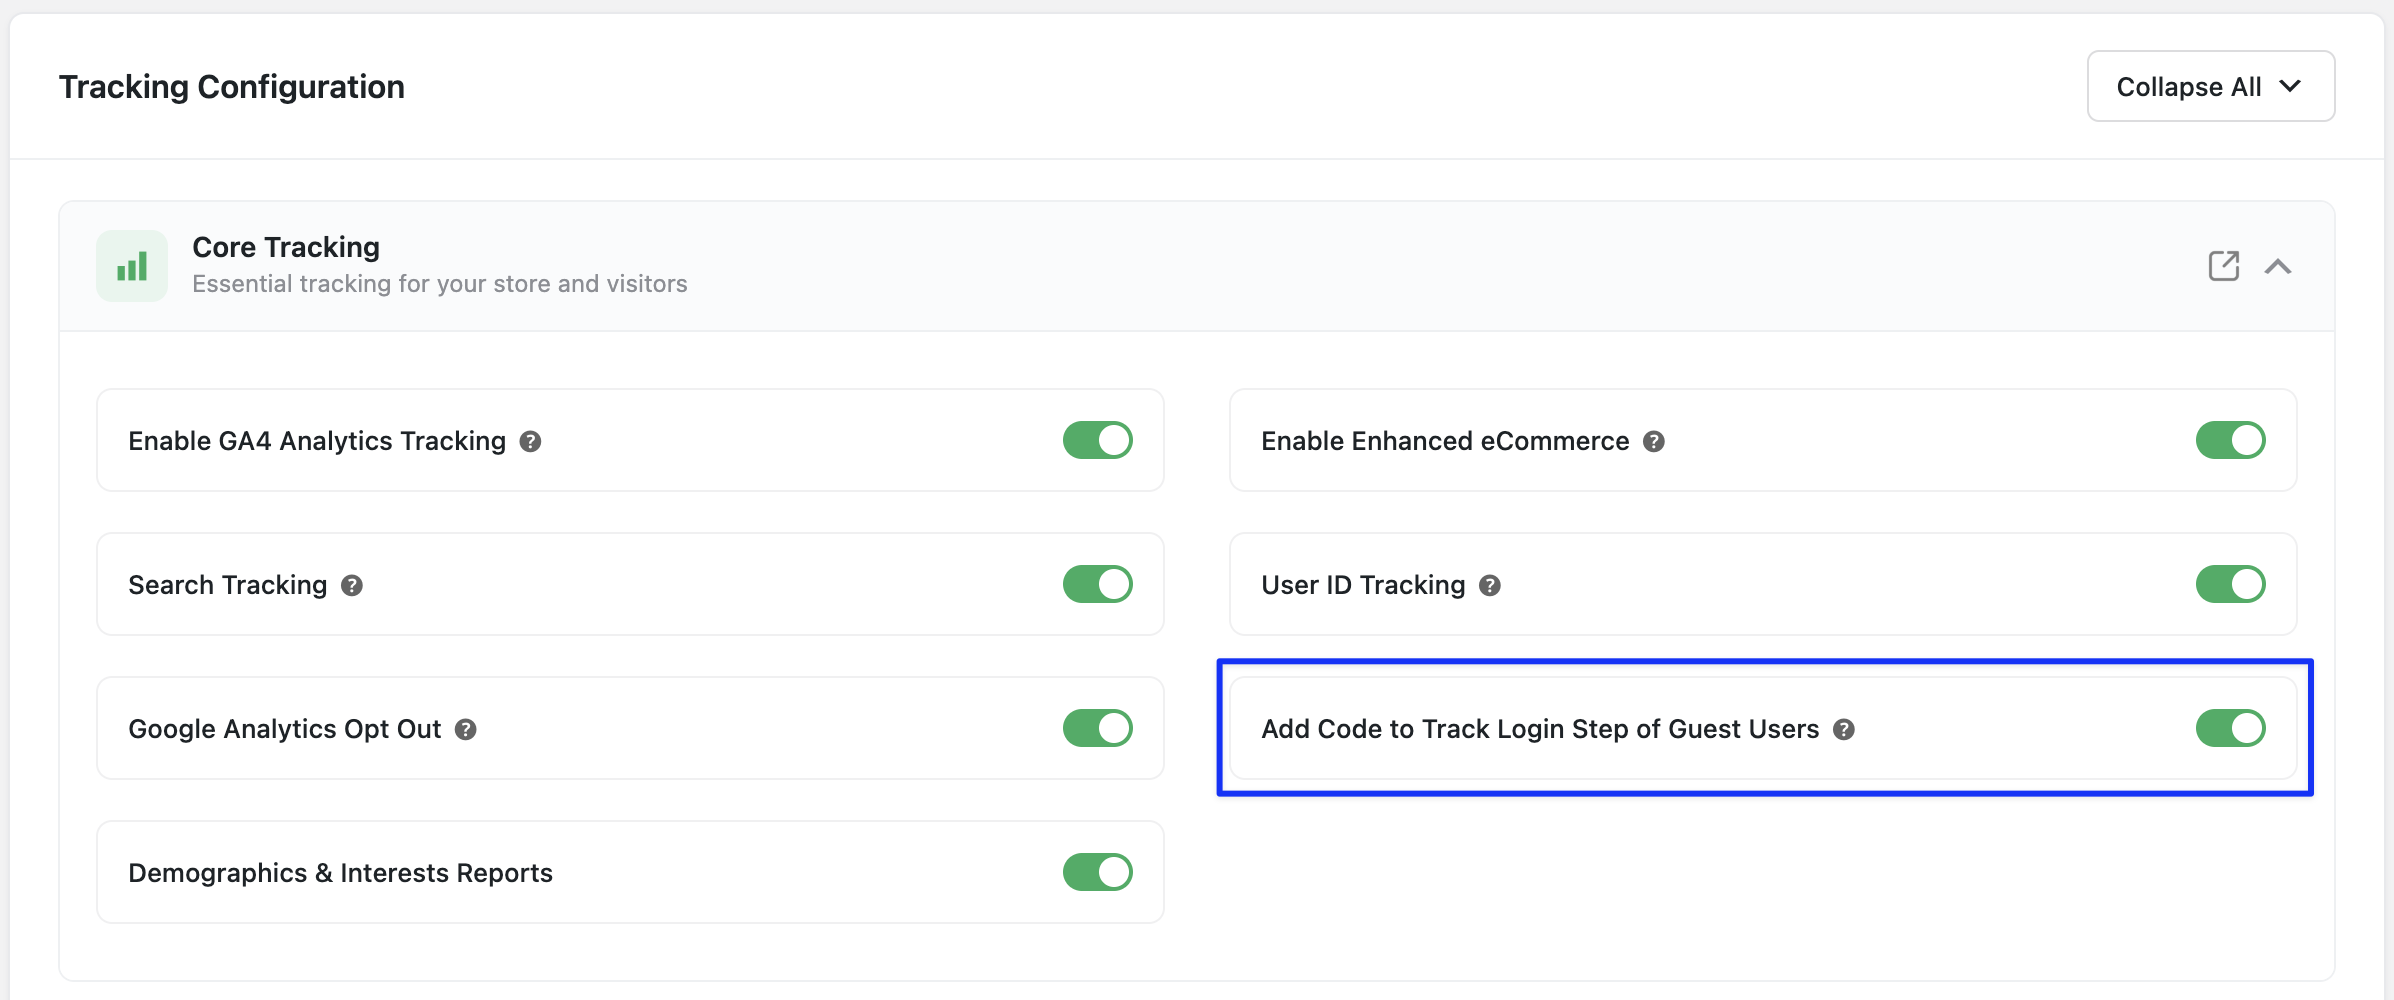
- Turn on Add Code to Track Login Step of Guest Users.
- Save your settings. From this point on, guest checkouts are tracked through this final step, in addition to the standard checkout and purchase events every customer already generates.
Viewing This Data in GA4
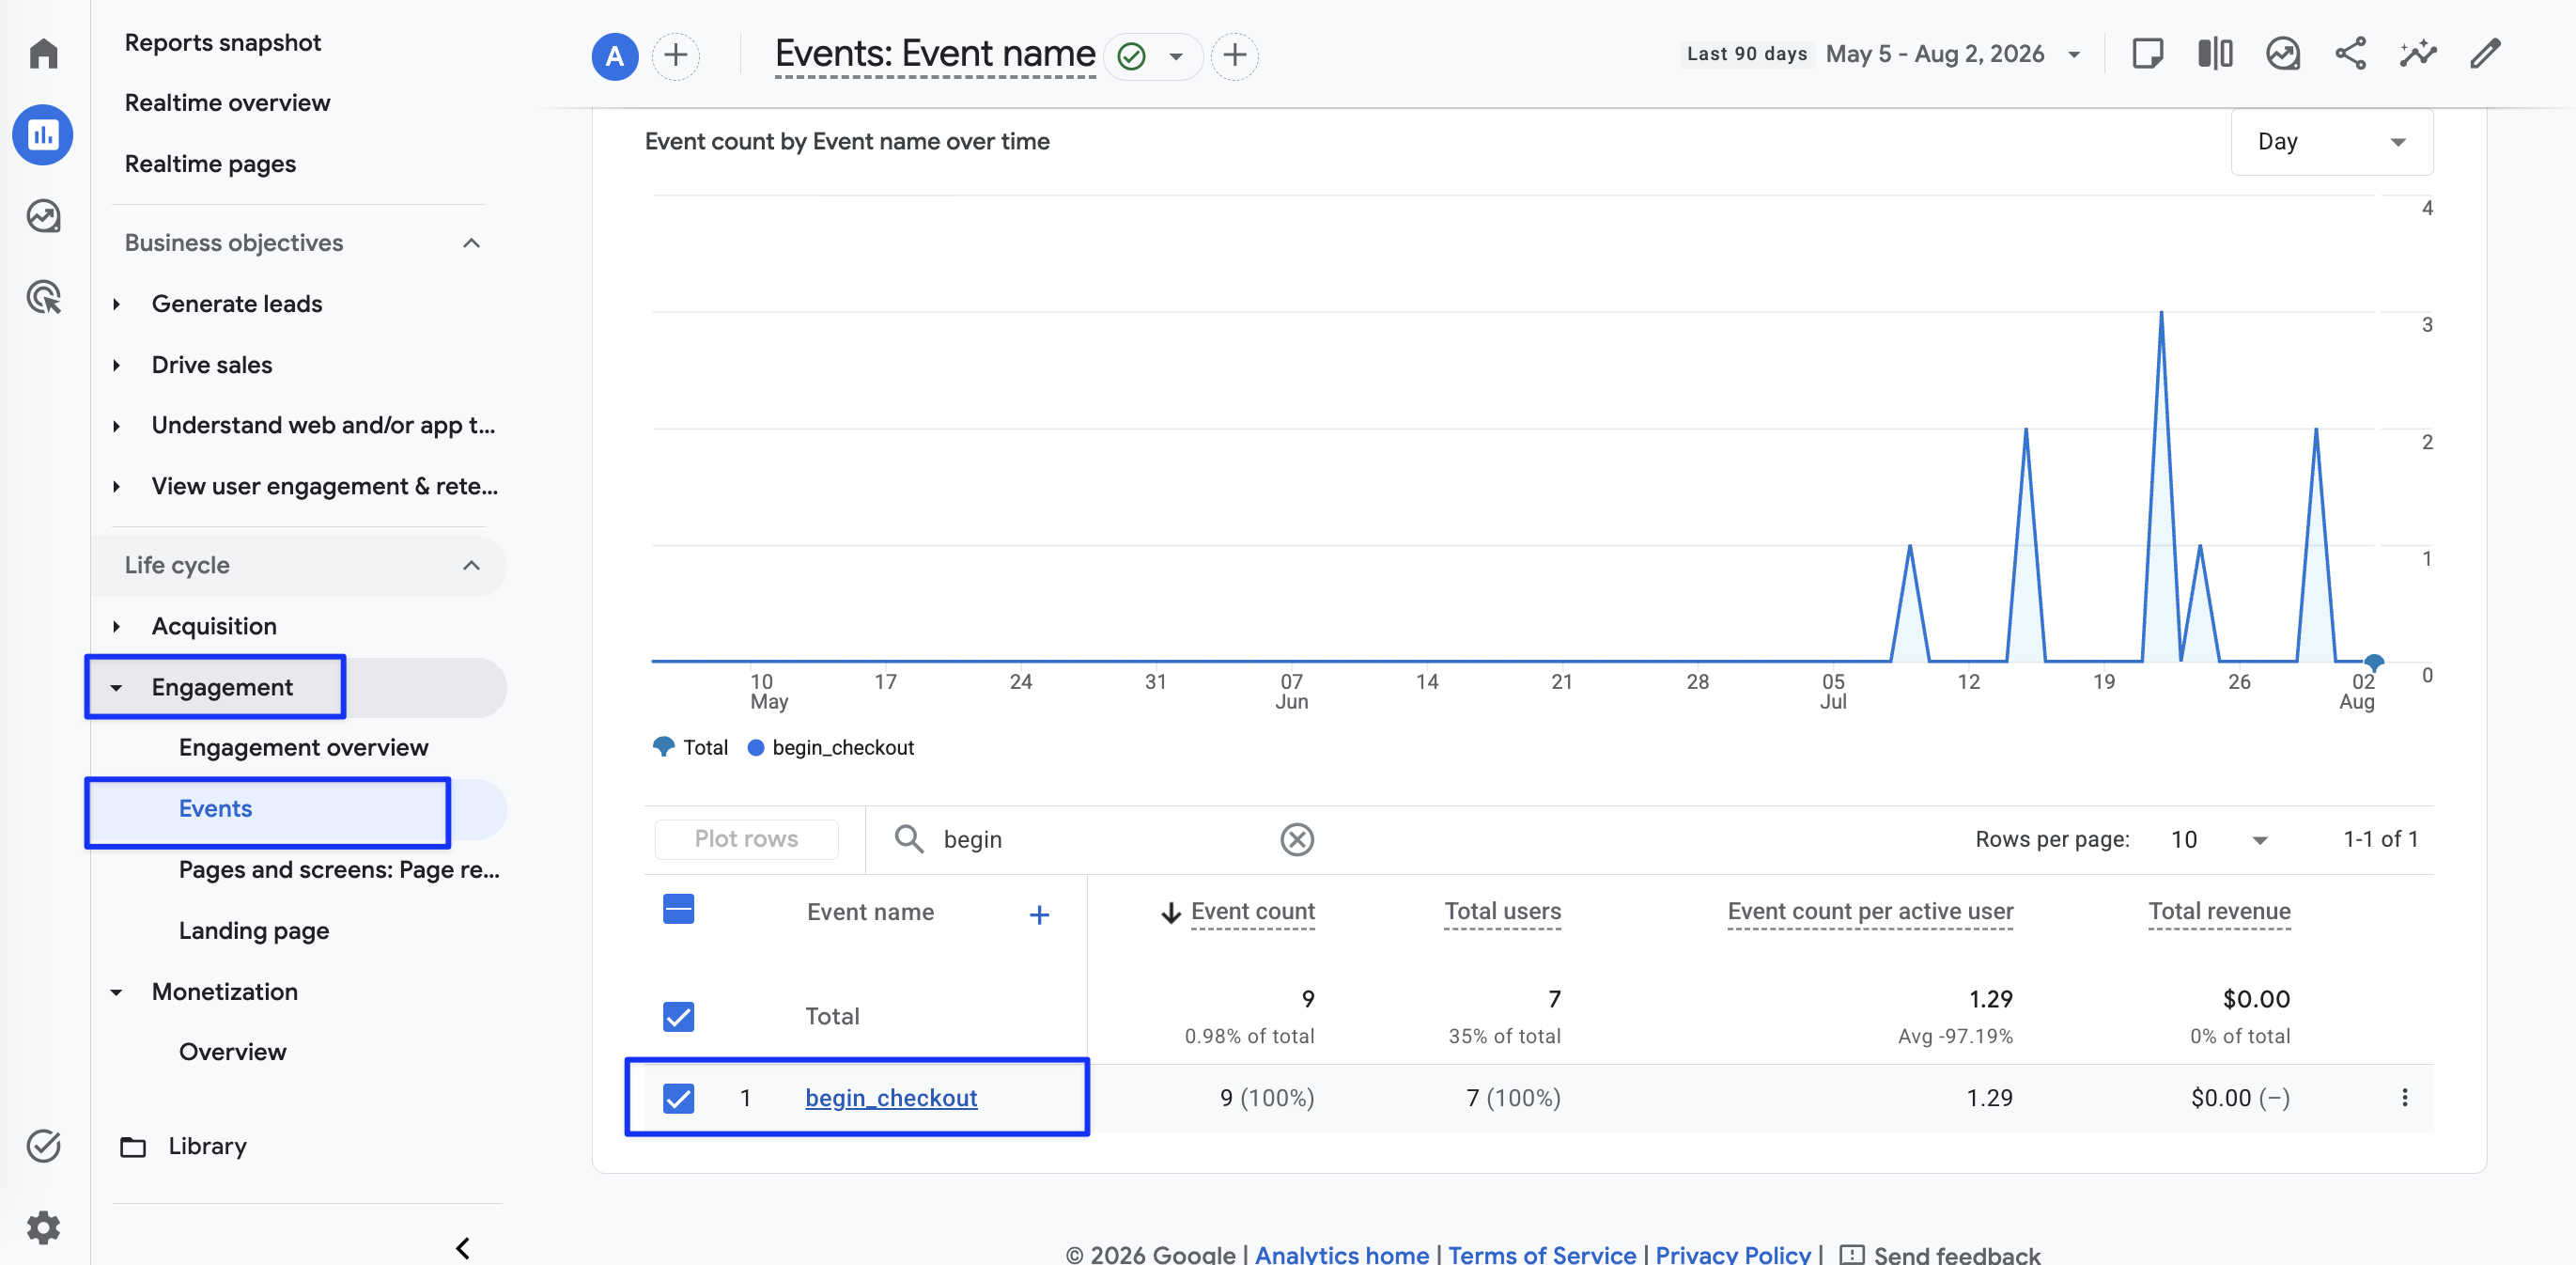
Go to GA4 → Reports → Engagement → Events and open checkout_progress to see how many guest checkouts reached this step. Compare it against begin_checkout and purchase counts to estimate how many guest checkouts are completing versus dropping off before payment.
Part 2: Demographics & Interests Reports
Demographics & Interests Reports controls whether the plugin allows GA4 to collect the ad personalization signals that power Demographics, Interests, and remarketing reports. This works alongside GA4's own Google Signals setting, it doesn't replace it.
Benefits
Configuring this setting can help:
- Understand who's visiting your store by age range, gender, and interest category
- Build audiences in GA4 for remarketing and Google Ads campaigns
- Explicitly opt out of ad personalization signals if that better fits your privacy stance
How It Works
Leaving Demographics & Interests Reports turned on keeps GA4's default behavior in place, no restriction is added by the plugin. Turning it off adds gtag('set', 'allow_ad_personalization_signals', false) to your tracking code, explicitly telling GA4 not to collect ad personalization signals for your site.
This setting alone doesn't turn on Demographics and Interests data. GA4 also needs Google Signals enabled at the property level, this plugin doesn't control that setting; it lives in your GA4 property's own Admin settings.
How to Configure This Setting
- Go to Ecommerce Tracking → Tracking Configuration and open the Core Tracking section under Tracking Configuration.
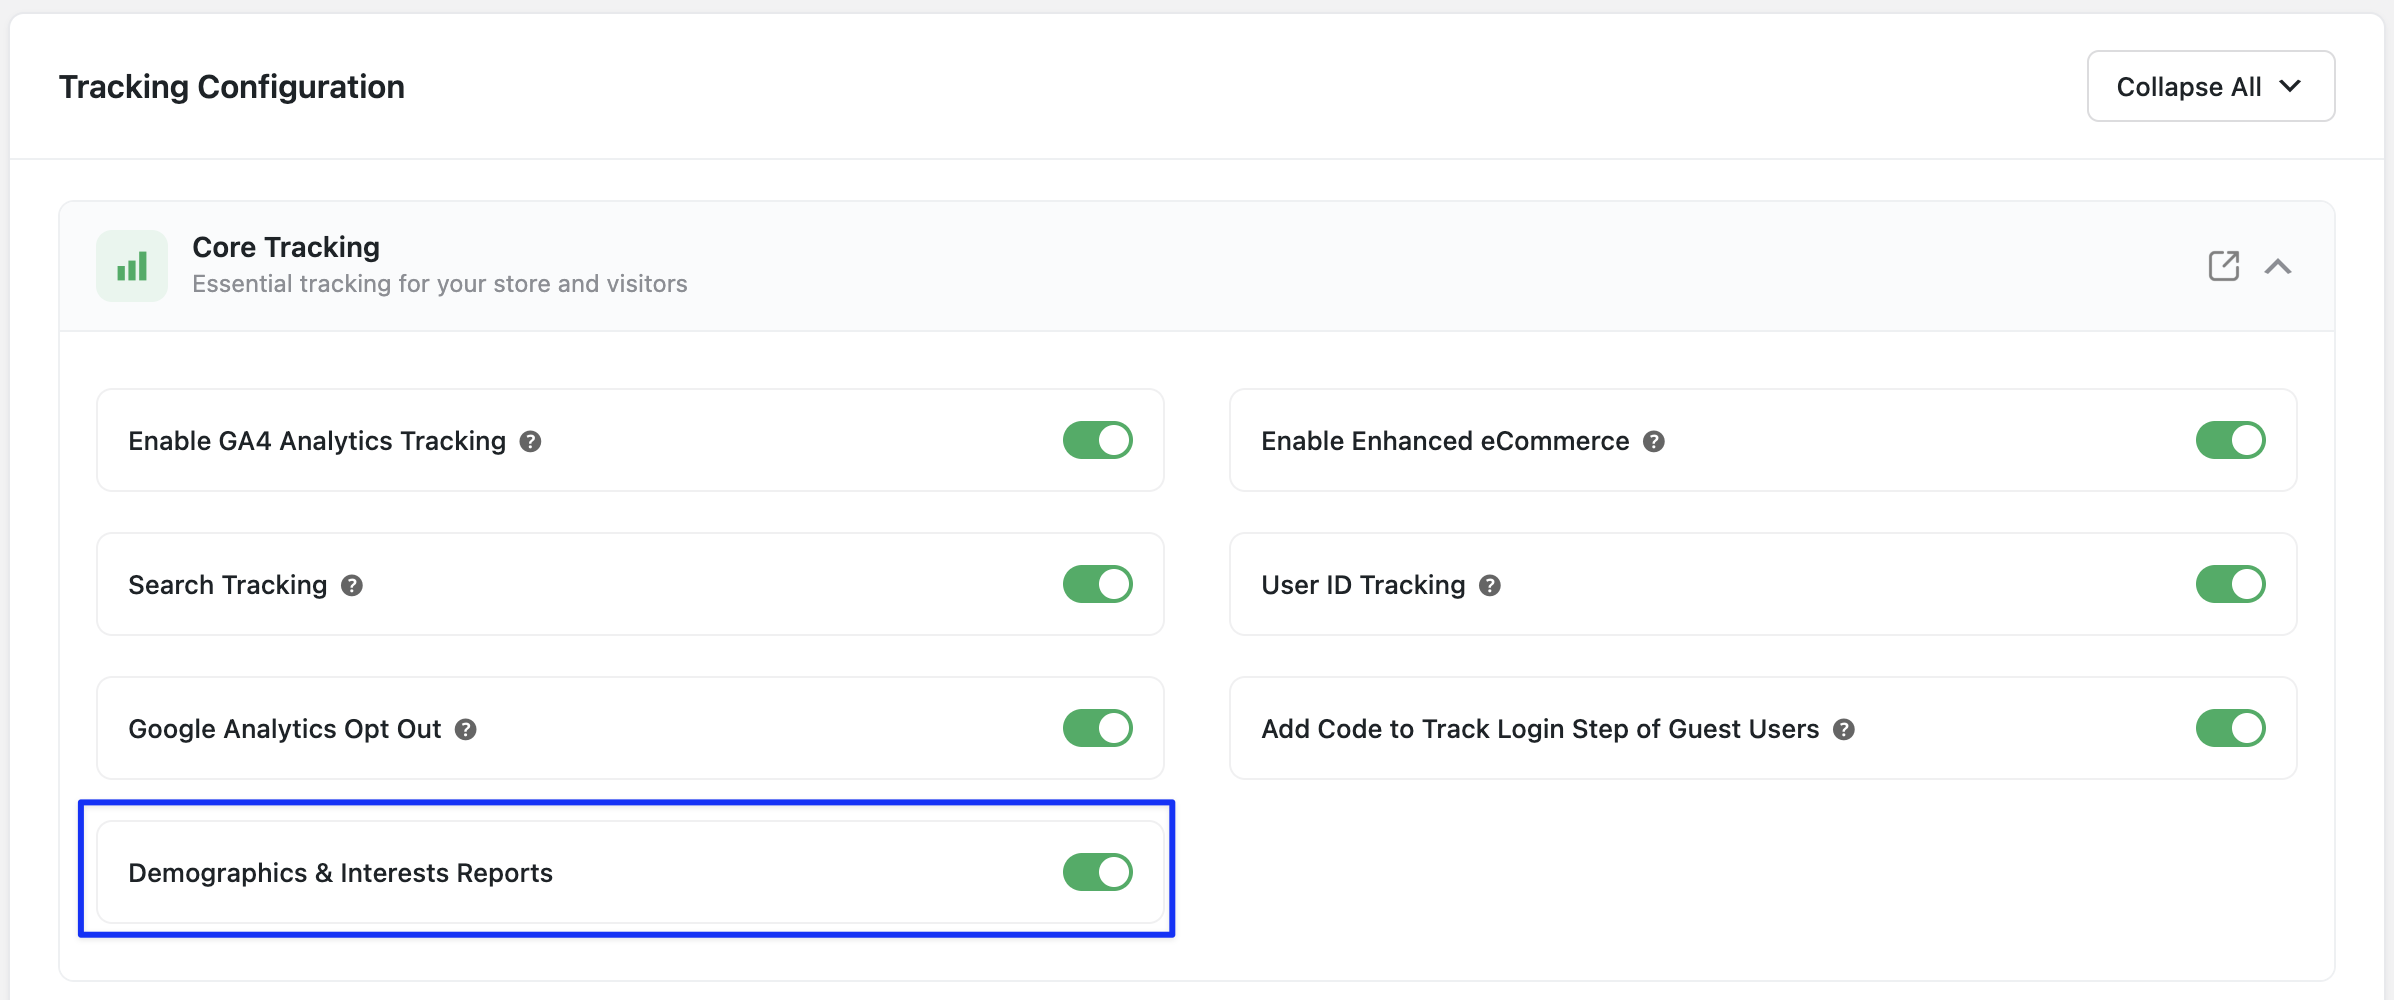
- Leave Demographics & Interests Reports turned on if you want ad personalization signals allowed (the default). Turn it off if you want to explicitly block them, for example, for privacy reasons.
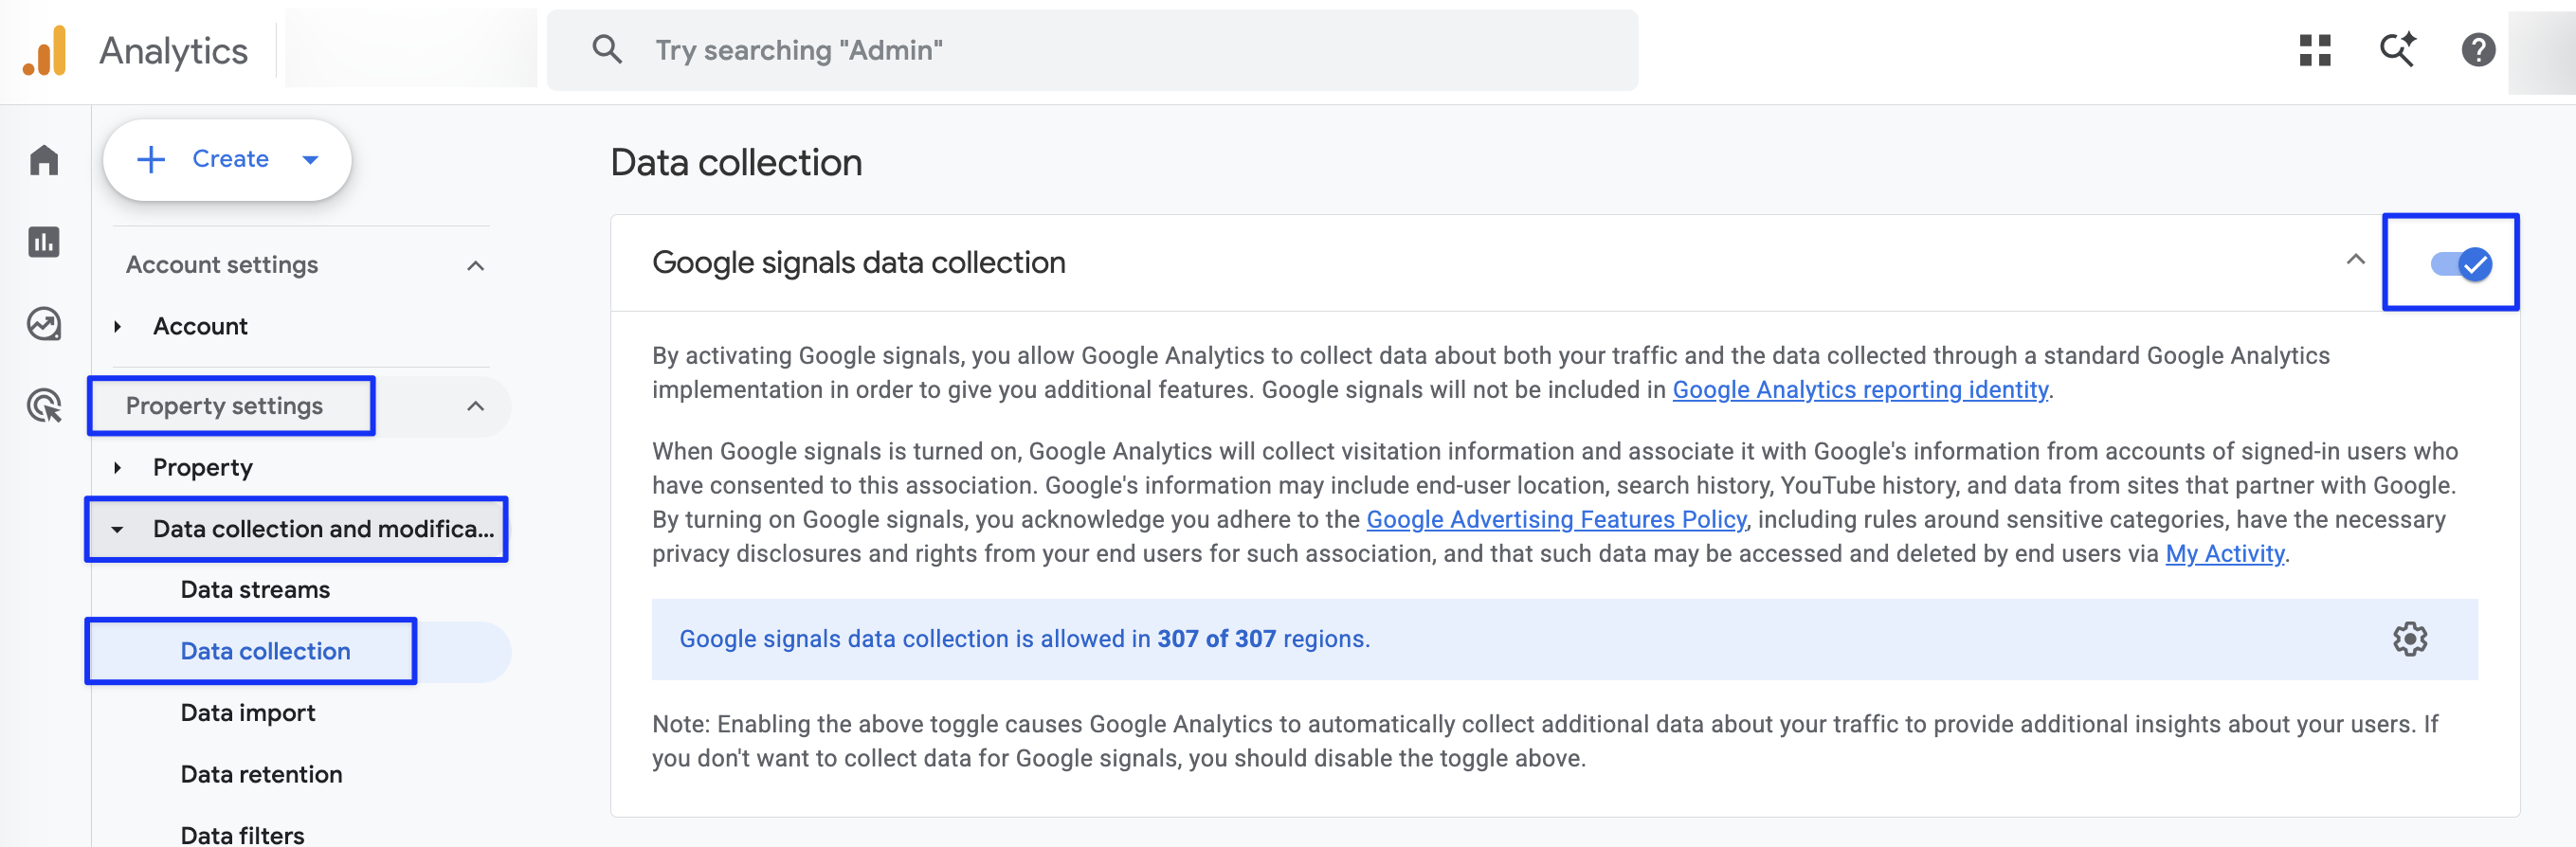
- In your GA4 property, go to Admin → Data Settings → Data Collection and enable Google Signals. This is what actually activates Demographics, Interests, and remarketing data collection, the plugin's toggle only controls whether personalization signals are allowed or blocked from your site.
- Save your changes in the plugin.
Viewing This Data in GA4
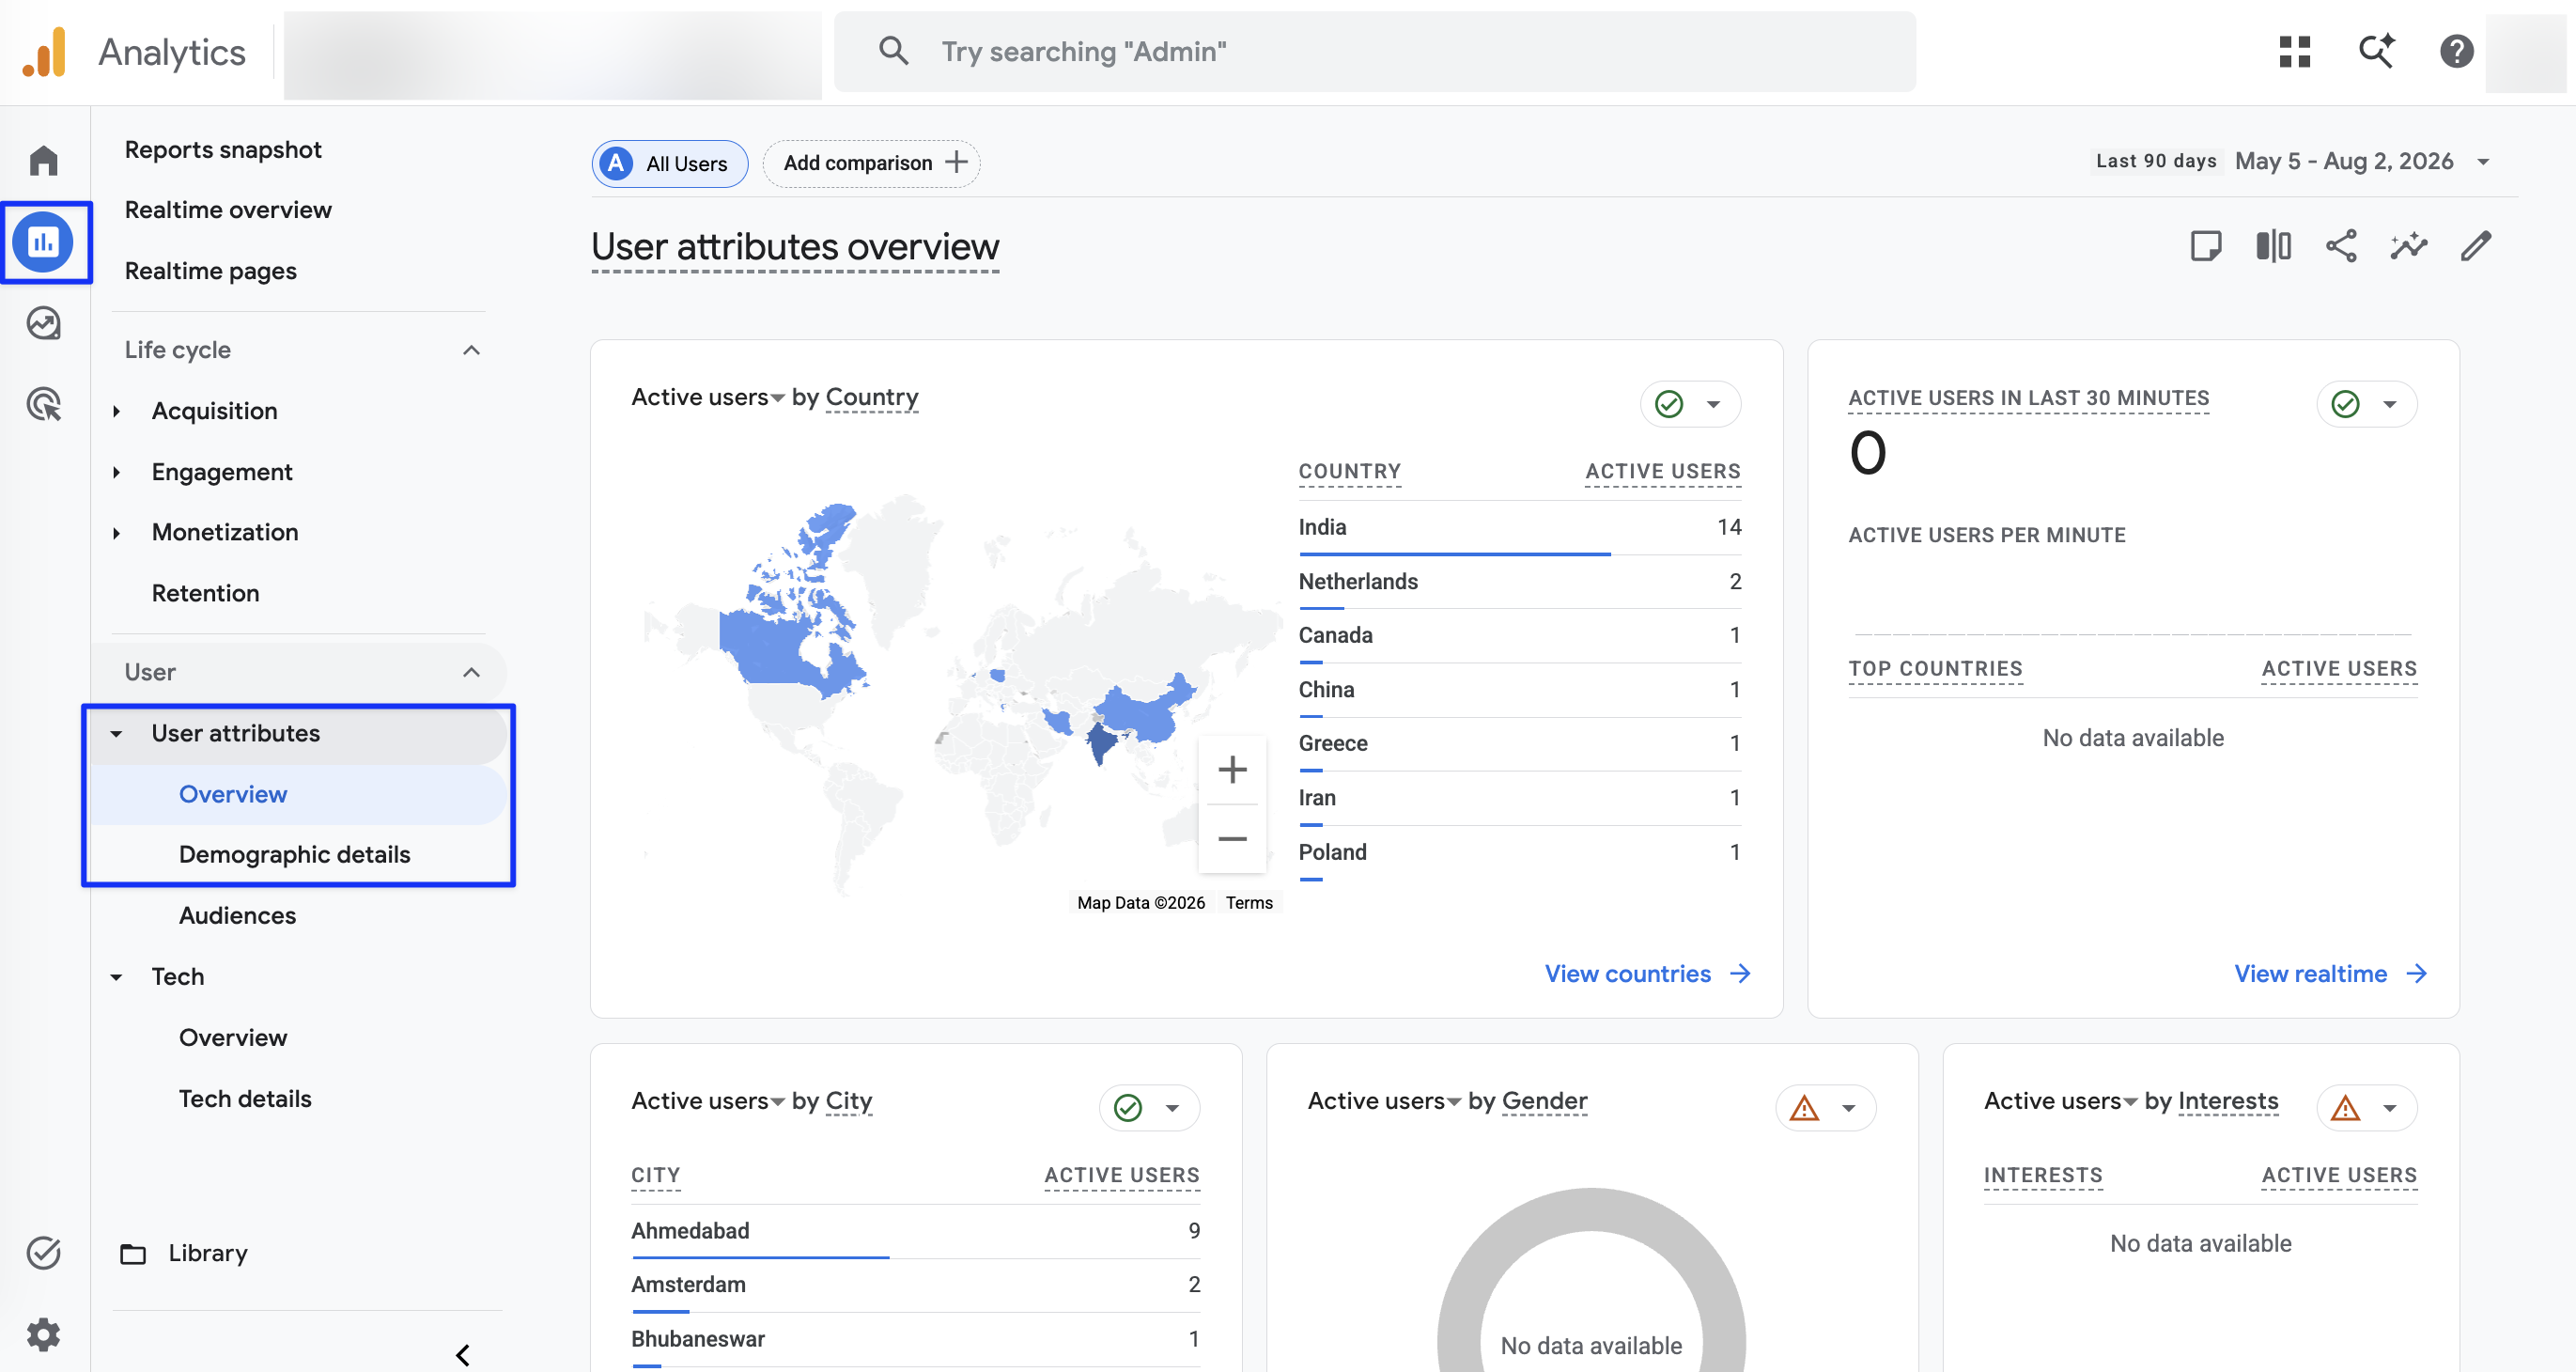
Once Google Signals is enabled and data has had time to populate (this can take a few days), go to GA4 → Reports → User → Demographics to see visitor breakdowns by age, gender, and location, or related reports for interest categories.
Example Use Cases
Measuring guest checkout completion: If a large share of your customers check out as guests, enable checkout step tracking to see how many of them reach the final step before payment.
Building remarketing audiences: If you want to run remarketing ads to past visitors, keep Demographics & Interests Reports on and enable Google Signals so GA4 can build those audiences.
Comparing guest vs. account checkout: If you allow both guest and account-based checkout, use the checkout_progress event alongside your other checkout events to see which path customers complete more often.
Opting out of ad personalization: If your privacy policy or region requires it, turn Demographics & Interests Reports off to explicitly block ad personalization signals from your site.
Conclusion
These two settings fill different gaps in your GA4 data: one gives guest checkouts the same final-step visibility logged-in checkouts get, the other controls whether ad personalization signals are allowed for Demographics and remarketing reporting. Neither works in isolation, guest checkout tracking depends on guest checkout being clicked without errors, and Demographics data also requires Google Signals enabled in GA4 itself.
FAQs
1. Does guest checkout tracking track whether a guest logs in instead of checking out as a guest?
No. It tracks guest checkouts reaching the final step (clicking Place Order) before payment, not a comparison between logging in and staying a guest.
2. Does turning on Demographics & Interests Reports activate those reports by itself?
No. It only avoids blocking ad personalization signals. You also need Google Signals enabled in your GA4 property for Demographics and Interests reports to populate.
3. What does turning Demographics & Interests Reports off actually do?
It adds a signal telling GA4 not to collect ad personalization data from your site, explicitly opting out.
4. Where do I enable Google Signals in GA4?
In your GA4 property, go to Admin → Data Settings → Data Collection and turn on Google Signals.
5. Where do I see each of these in GA4?
Guest checkout steps: Reports → Engagement → Events → checkout_progress. Demographics: Reports → User → Demographics (after Google Signals is enabled and has had time to populate).